What Is Solar Panel Mounting?
Think of solar panel mounting as the foundation of your entire solar setup. Without it, panels are just expensive glass sitting in the sun. With it, they’re securely fastened, angled correctly, and ready to produce maximum power for decades.
So what exactly is solar mounting? It’s the system of rails, clamps, and attachments that fixes your panels safely to a surface — whether that’s your roof, the ground, or even a carport. This setup is often called a racking system, and it does more than just “hold panels in place.”
- It keeps panels steady through wind, rain, and snow.
- It ensures the right tilt and orientation for maximum efficiency.
- It protects your roof and prevents long-term damage.
Here’s what most homeowners miss: your panels are only as reliable as the system holding them up. That’s why choosing the right mounting option isn’t just a technical detail — it’s the difference between decades of worry-free power and costly mistakes.
So what actually makes up a solid mounting system? Let’s break down the key components you’ll need to know.
Key Components of a Mounting System
A solar panel mounting system might look like a few metal parts holding panels together — but every piece plays a critical role in strength, safety, and performance. Here are the essentials you’ll hear about:
Roof Attachments
These are the anchors that connect your racking system to the roof itself. Think flashing, hooks, or brackets. They keep everything watertight, preventing leaks while making sure the panels can withstand heavy winds and snow loads.
Module Clamps
Panels can’t just be screwed down directly. Instead, end clamps and mid clamps secure panels tightly onto rails without damaging their frames. This is where precision matters — clamps hold panels in place for decades while still allowing airflow underneath.
Mounting Rails
Rails act as the backbone of the system. They run across your roof or ground structure, supporting each panel in either a horizontal or vertical orientation. Proper rail alignment ensures panels sit at the right tilt for maximum sunlight capture.
Hardware & Safety Extras
Bolts, grounding wires, and weatherproof seals might not grab headlines, but they ensure your system is safe, compliant, and built to last. From preventing electrical faults to keeping water out, these “small” pieces make a big difference.
And here’s where a common question pops up: do solar panels come with mounting holes in the back, or do you have to drill your own? Let’s clear that up next.
Do Solar Panels Have Mounting Holes in the Back?
Yes — the good news is that most solar panels come with pre-drilled mounting holes in the back. These holes are standardized to fit with clamps and rails, making it safe and simple to secure panels without damaging them.
But here’s the warning every DIY installer needs to hear: never drill your own holes. It may seem like a shortcut if the layout feels off, but drilling directly into the panel frame can:
- Void your manufacturer’s warranty,
- Compromise the structural integrity of the panel, and
- Create weak points where cracks or water damage can start.
This is why proper racking systems exist — to give panels a secure, tested, and code-compliant way to lock into place.
DIY forums (like the Reddit example) are filled with people confused about horizontal vs vertical mounting and where clamps should go. The truth? Stick with the pre-designed holes and manufacturer guidelines — that’s how you ensure your system lasts for decades.
Now that we know panels are designed to be mounted safely, let’s walk through what the process actually looks like on a typical rooftop.
How to Mount Solar Panels on a Roof (Step-by-Step Overview)
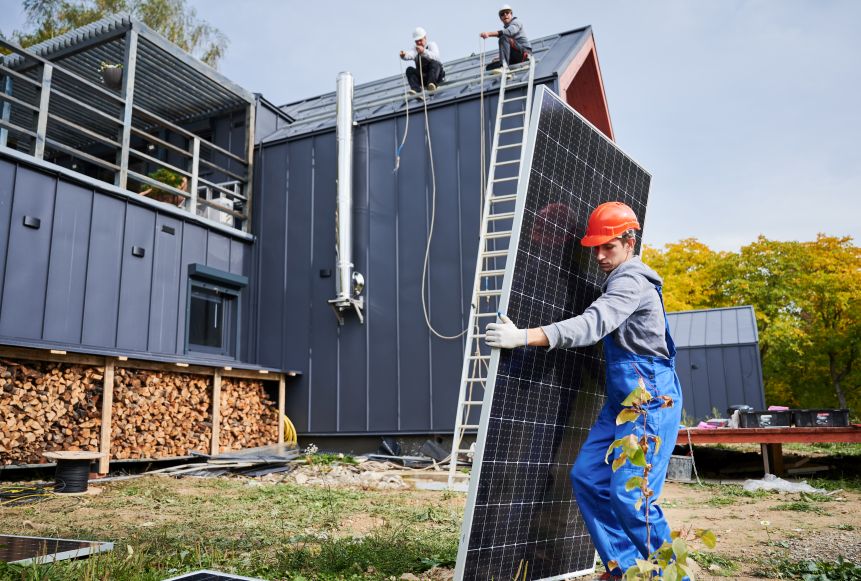
Mounting solar panels on a roof isn’t just about screwing them down and hoping for the best. It’s a precise process designed for safety, durability, and maximum sunlight capture. Here’s how it works in practice:
Assess the Roof
Before anything gets installed, a professional checks your roof’s angle, shading, and structural strength. Is it south-facing? Are there trees casting shadows? Can it handle the added weight? These details determine how efficient — and safe — your system will be.
Install Roof Attachments & Rails
Next, flashing, hooks, or brackets are attached to the roof and sealed tight to prevent leaks. Mounting rails are then secured horizontally or vertically, forming the backbone that will carry the panels.
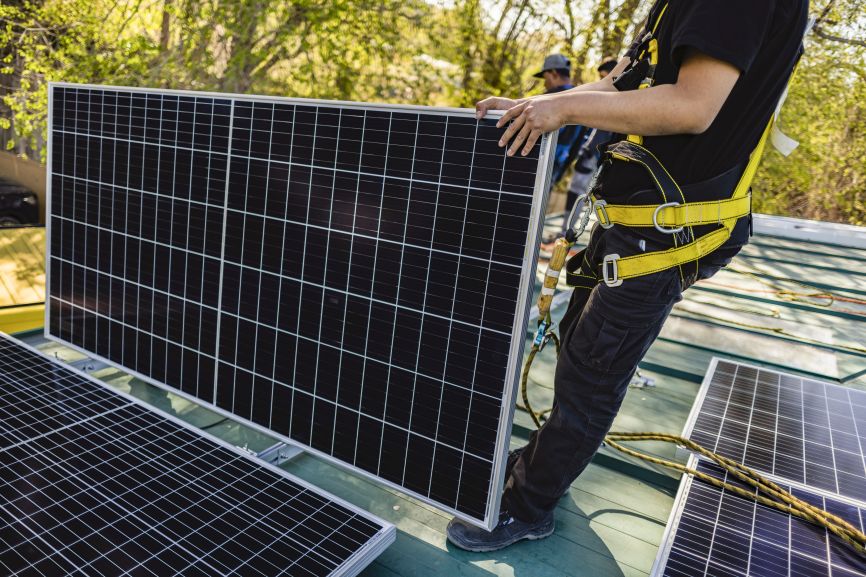
Secure Panels with Clamps
Solar panels are placed onto the rails and tightened with end clamps and mid clamps. This ensures they’re held firmly without cracking the frame, while leaving enough airflow beneath the panels to prevent overheating.
Wire & Grounding Considerations
Once panels are fixed, wiring and grounding are completed. This step connects your system to the inverter and ensures electrical safety under building codes.
⚠️ Safety reminder: While DIY guides make it look easy, rooftop solar involves high-voltage wiring and structural risks. That’s why most homeowners trust licensed installers — for peace of mind and warranty protection. Ecosunworks.com can connect you with a local installer in your area. Simply call us today to get multiple quotes from pre-vetted local installers.
Of course, not every home uses a roof mount. Some systems work better on the ground — or even as carports. Let’s explore your options.
Types of Solar Mounting Systems
Not every home or property is the same, which is why solar mounting comes in different forms. Choosing the right type can make or break your system’s performance, cost, and durability. Let’s look at the main options.
Roof Mounts
The most common type, roof mounts attach panels directly to your roof using rails and clamps.
- Fixed tilt: Panels stay at one angle year-round. Lower cost, less maintenance, but efficiency may dip in winter.
- Adjustable tilt: Lets you shift angles seasonally for maximum production. Slightly more complex and expensive, but can boost energy yield.
Pros: Saves ground space, lower cost, blends with existing roof.
Cons: Dependent on roof condition and orientation; harder to service panels later.
Ground Mounts
For homes with land to spare, ground-mounted panels are installed on open soil or concrete.
- Fixed-tilt: Simple, sturdy, and great for large arrays.
- Tracking systems: Follow the sun throughout the day, maximizing efficiency but adding cost and maintenance.
Pros: Easy to clean, service, and expand; can optimize tilt and orientation.
Cons: Requires space, higher upfront cost than roof mounts.
Carport & Specialty Mounts
Here’s a bonus most competitors skip: solar carports and specialty mounts. These structures turn your parking space into a mini solar farm, giving you shade for cars and power for your home. Specialty mounts can also be integrated into pergolas or custom structures for aesthetics + function.
But no matter the type, the angle and orientation of your panels are just as important as where you mount them. Let’s dig into why.
Orientation & Tilt – Getting the Angle Right
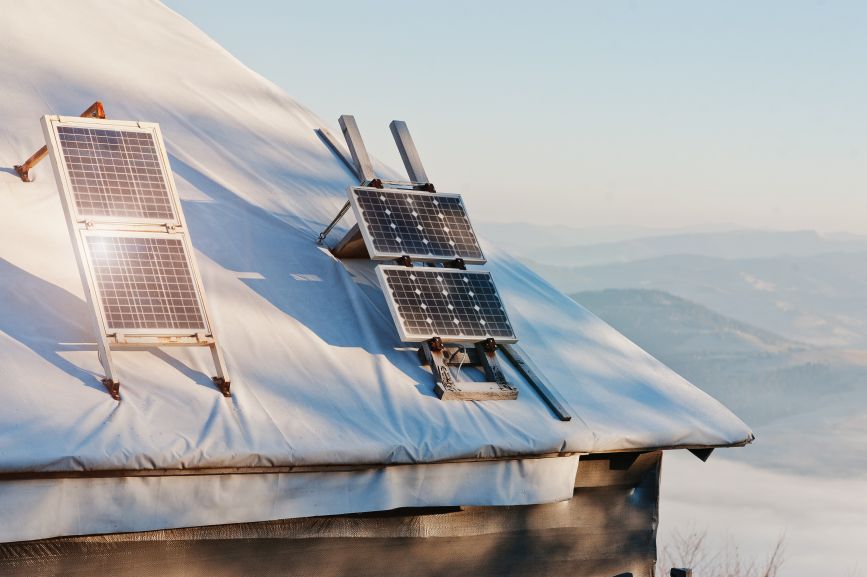
Here’s a solar secret many homeowners overlook: even the best panels won’t deliver if they’re pointed the wrong way. Orientation and tilt directly affect how much sunlight your system captures — and ultimately, how much money you save.
In Massachusetts (and most of the northern hemisphere), panels perform best when facing south, angled to match your roof’s slope. North-facing panels? They’ll work, but at noticeably reduced efficiency.
Another DIY question that pops up often: horizontal vs. vertical mounting. Both can work, but the key is securing panels at their strongest edges using pre-drilled holes and clamps. Mounting only on the short side, as some Reddit users wondered, risks structural weakness over time.
For maximum efficiency, some systems allow seasonal tilt adjustments — steeper in winter for low-angle sunlight, flatter in summer for overhead rays. While not every system includes this flexibility, it can give you a meaningful energy boost if you want to squeeze every kilowatt-hour.
Of course, every choice also affects cost — so how much does mounting actually add to your solar investment?
Cost of Solar Mounting Systems
When homeowners think about solar costs, they often picture panels and batteries. But here’s the surprise: mounting hardware usually makes up about 10–15% of the total system cost.
For a standard rooftop solar system, mounting is relatively affordable. Roof mounts use less material and labor since they attach directly to your home’s structure. On the other hand, ground mounts can cost more because they require additional framing, concrete foundations, or tracking mechanisms.
Other factors that influence price include:
- Roof type: Asphalt shingle, metal, or tile roofs each require different attachment methods.
- Labor costs: More complex installations (like steep roofs or multi-story homes) increase time and safety requirements.
- Permits & inspections: Local building codes can add paperwork and fees to the process.
The key takeaway? Mounting isn’t the most expensive part of going solar, but it’s one of the most critical investments for safety and long-term performance. Ecosunworks can connect you with pre-vetted installers to get multiple quotes best suited for your roof type. We work with solar installers that also get you permits & inspections done.
And speaking of safety, what about building codes, warranties, and the risks of DIY mounting? Let’s cover that next.
Safety, Codes & Warranties
Solar mounting isn’t just about holding panels in place — it’s about meeting strict safety standards. Local building codes and fire safety requirements dictate how panels must be installed to protect your roof, your home, and your family.
Cut corners, and the risks climb fast:
- Improper DIY mounting can lead to roof leaks, electrical hazards, or even panels tearing loose in high winds.
- Panels mounted incorrectly may also fail inspections, forcing costly rework before your system can be connected to the grid.
Here’s something many homeowners don’t realize: drilling holes or altering mounts outside manufacturer guidelines can void your panel warranty. That means if something goes wrong, you’re left footing the bill.
The smartest move? Stick to approved racking systems and licensed installers who know the codes inside out. This way, your system not only performs better — it stays protected under warranty for decades.
Now let’s clear up some of the most common questions people have about solar panel mounting.
FAQs About Solar Panel Mounting
Q1: How long does solar panel mounting take?
For a typical residential system, roof mounting can be completed in 1–2 days, depending on roof complexity. Ground mounts may take longer due to foundation work.
Q2: Can I mount solar panels without rails?
There are rail-less systems, but they still require specialized hardware to meet safety codes. Standard rail-based racking remains the most common and secure option.
Q3: Do solar panels need ventilation space underneath?
Yes. Leaving a small gap between the roof and the panels helps with airflow and cooling, which improves performance and extends panel life.
Q4: Can solar panels be mounted flat?
Technically yes, but flat mounting reduces efficiency, causes dirt buildup, and increases water pooling risks. A slight tilt is always recommended.
Q5: How strong are mounts during storms or high winds?
Quality mounting systems are engineered to withstand heavy snow loads and high wind speeds, as long as they’re installed correctly and inspected for code compliance.
With the basics, costs, safety, and FAQs covered, let’s wrap up with a quick recap — and show you how to pick the right mounting system for your home.
Conclusion – Choosing the Right Mount for Your Home
At the end of the day, mounting is the foundation of a reliable solar system. It’s what keeps your panels safe, steady, and producing power for decades. The “best” mounting option depends on your roof type, budget, and long-term energy goals — whether that’s a simple roof mount, a ground array, or even a carport solution.
One thing’s certain: choosing the right system (and installer) makes all the difference. A professional evaluation ensures your setup is code-compliant, efficient, and built to last.
Curious which mounting system fits your home in Massachusetts? Request a Free Quote from EcoSunWorks.